


Creating an Azure storage account, container and blob storage
This article will also show us how to change between Access, generate a SAS URI & limiting access to your blob for a specific time.


Login to your azure portal
Go to the search bar and search for STORAGE ACCOUNTS
Select STORAGE ACCOUNTS and create.

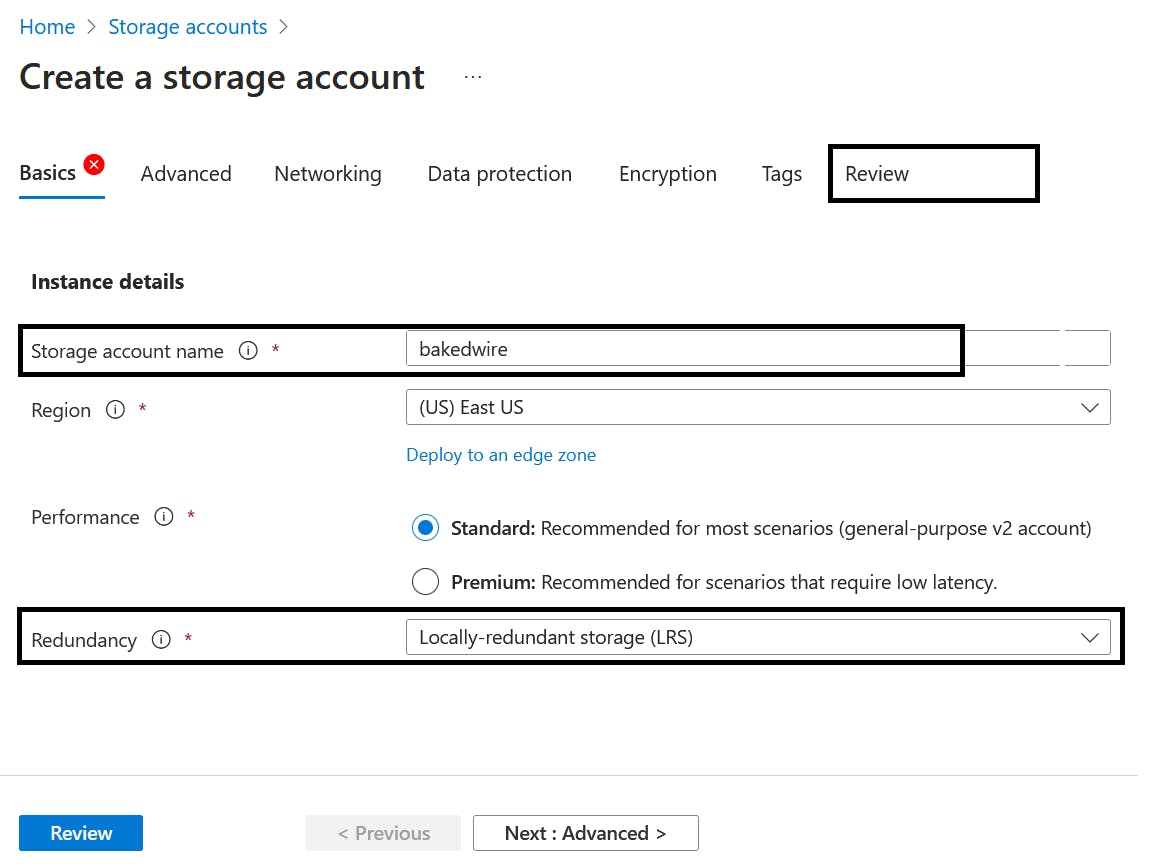
Name your storage account
Redundancy should be ; Locally-redundant storage (LRS)
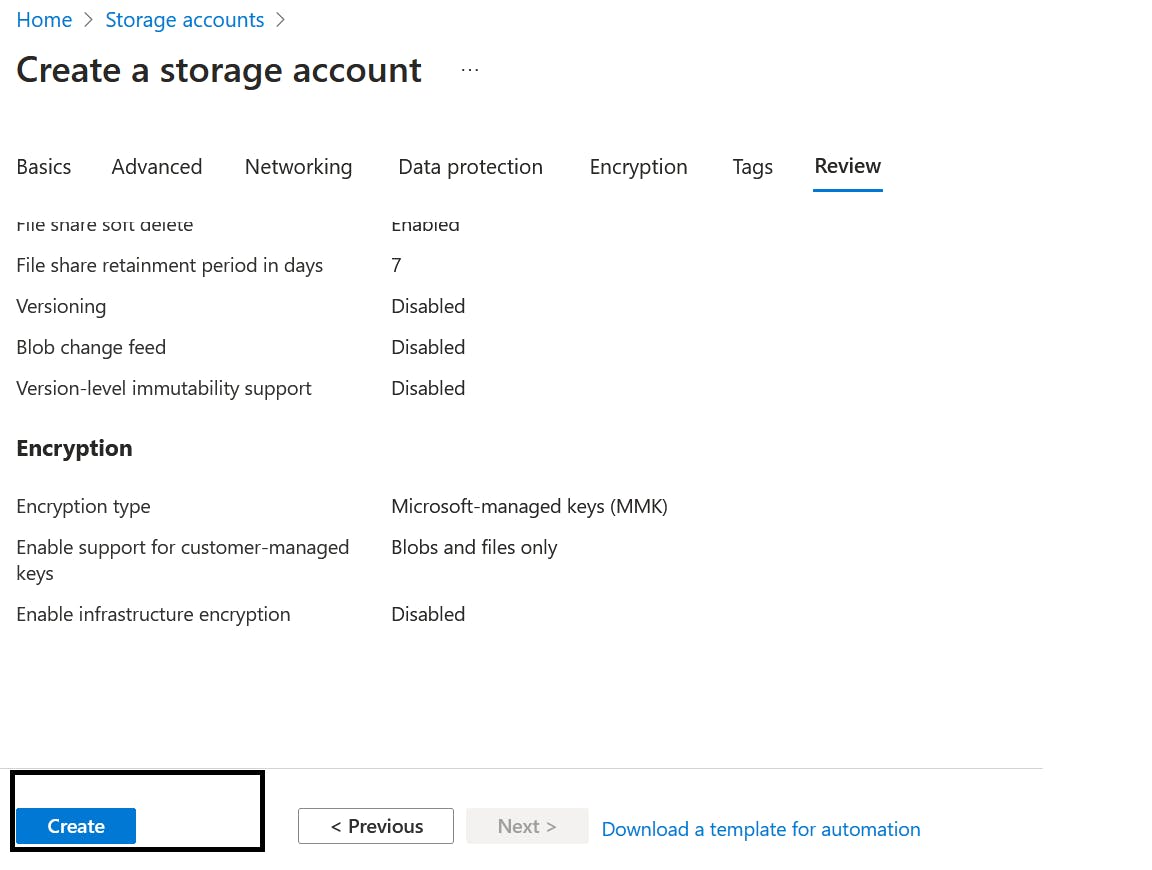
Other settings should be left as default , go ahead and review and create
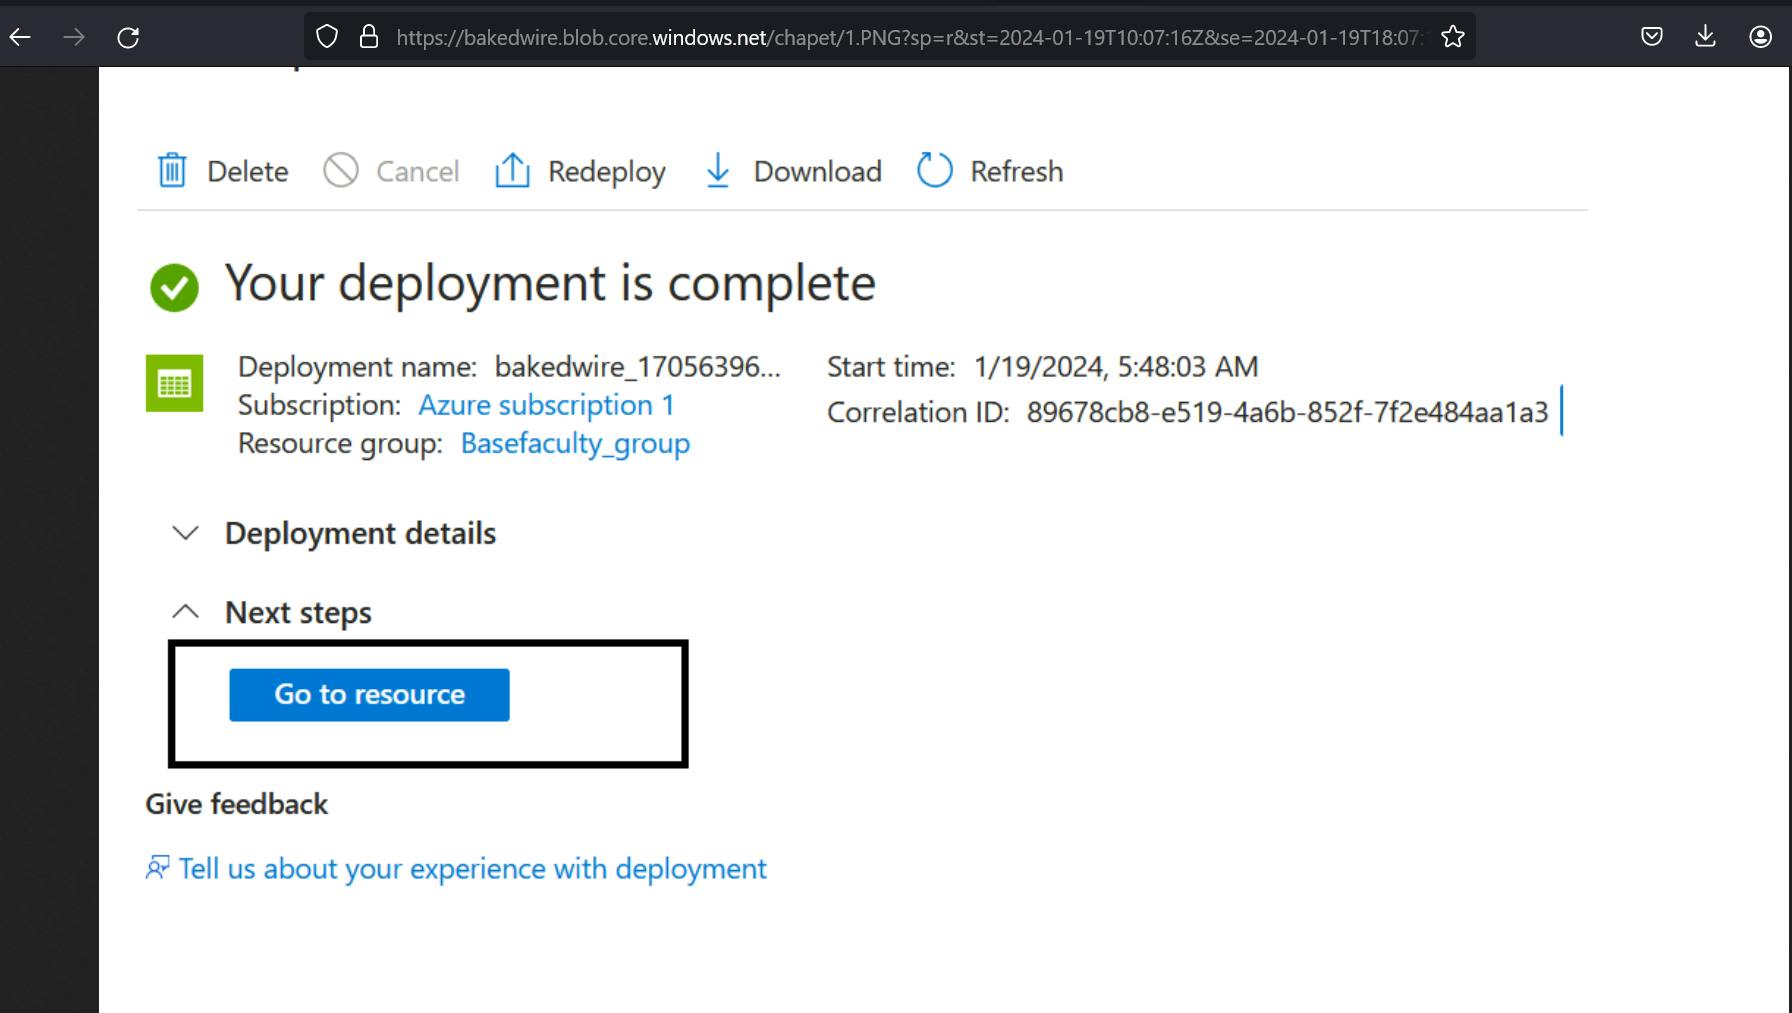
Your deployment is complete, go to resource and your storage account is ready.

Next, we would create a container and upload a blob
While in your storage account, go to CONTAINERS under Data storage, create a container.

Name your container, leave other settings at default and create.

Once you are in the container you created, you are ready to upload a blob. select upload
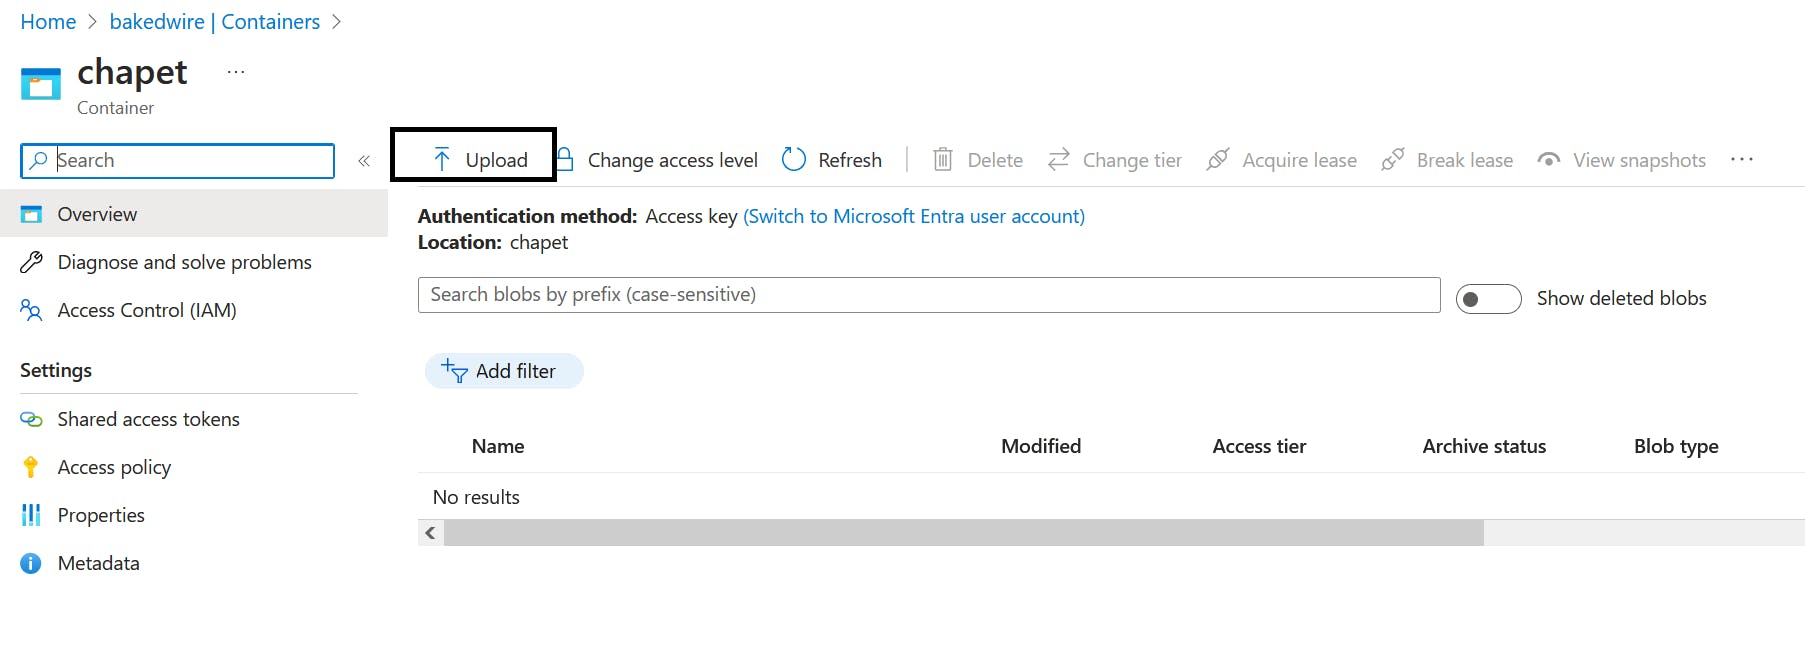
Browse for files, and upload any file you want. image or video
Here you can also switch between access tiers
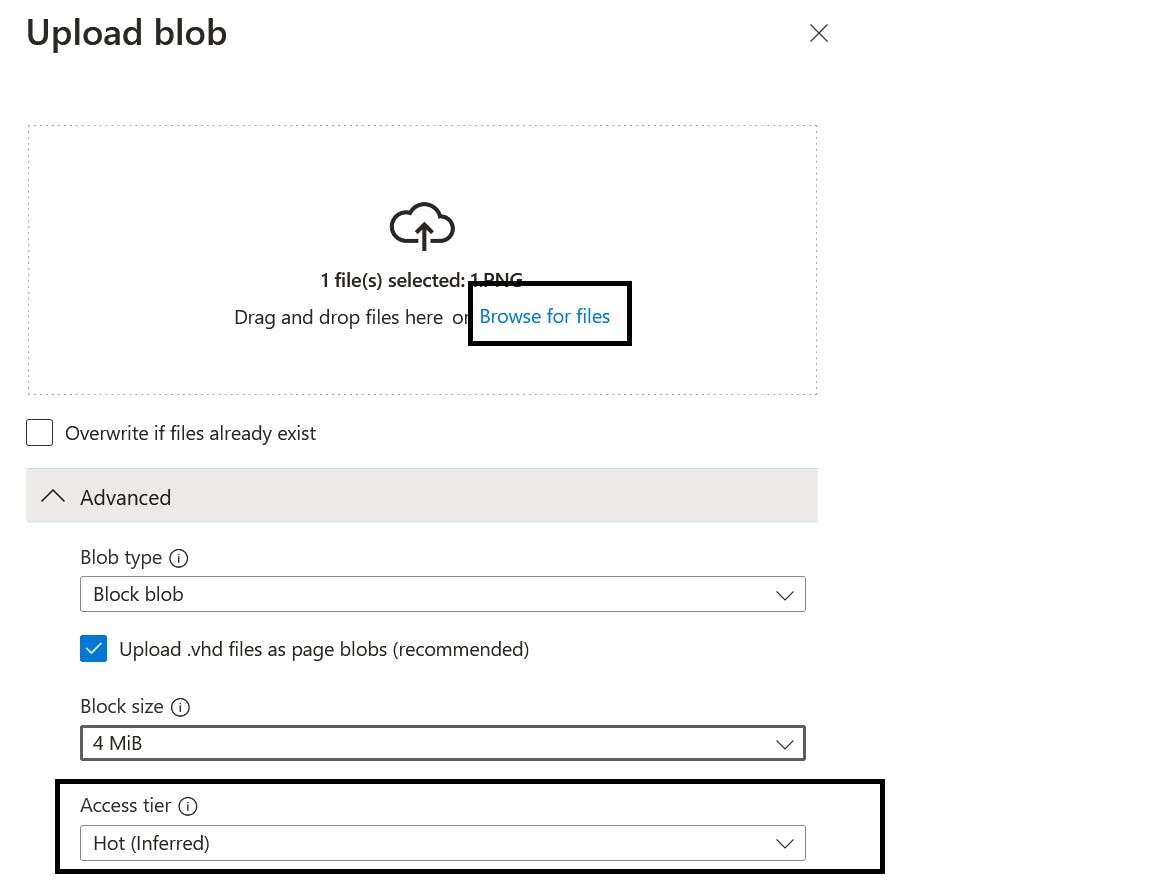
There are four tiers at this level. HOT, COOL, COLD & ARCHIVE.

Go ahead to upload. and this is your blob

Open the file you uploaded, to Generate SAS

Here, you would generate SAS URL and limit access to your blob for a specific period of time.
select a start time where you want your blob URL to be accessed and an expiry time where the URL should be restricted.
you can choose either of HTTP or HTTPs only, depending on the level of restriction and security you want.
Generate SAS URL, and for experimental purpose, paste the link on your browser .

This is the image i uploaded. pasted the link on my browser and this is the result under time limit,
This is the result after the time limit expired.

That is it on storage account, container and blob.